Guides
Altering and Repairing Vintage Clothing: What Holds, What Fails
Repairing and altering vintage clothing: how to measure, grade condition, test fibers and decide which repairs hold. US buyers, practical steps.
What to take away
- Buy on measurements, never on the label. Old size numbers come from systems that changed often and varied by maker.
- Treat condition grades as marketing. Ask for photographs of the five wear points and a written fault list.
- Alter only where allowances exist and the fibers still hold. Shoulders and weakened silk are the usual dead ends.
- Clean last, and gently. Air and spot clean older pieces before you consider dry cleaning.
Measure the garment before you plan a repair
A number on an old label describes a sizing system that changed often and varied by maker. Two garments with the same vintage size are often different sizes.
Record five numbers on a garment you already own and like, laid flat: chest, waist, hip, shoulder width, and total length. Take them on a fitted garment rather than over a coat.
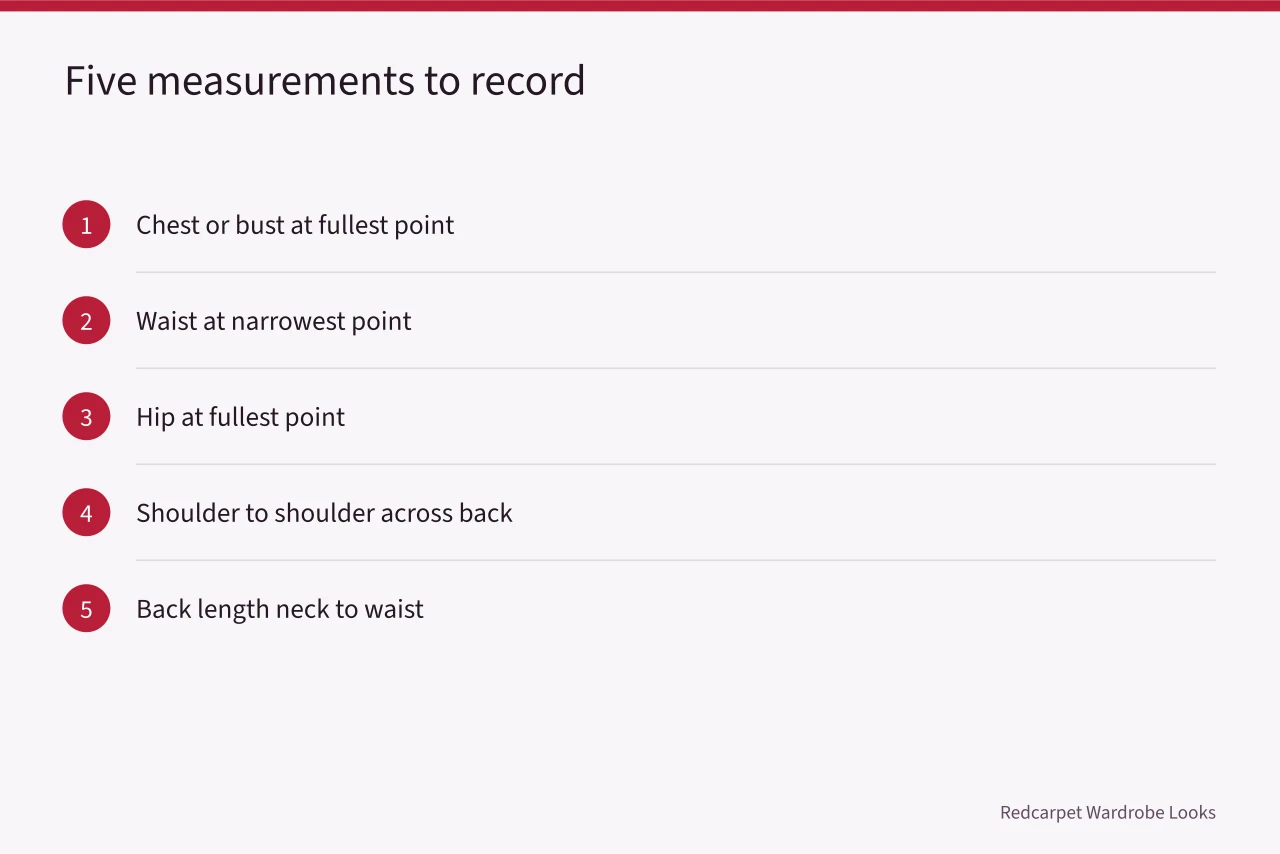
Ask the seller for the same five, taken flat, and whether they describe the garment or the body. That question settles most disputes before money changes hands.
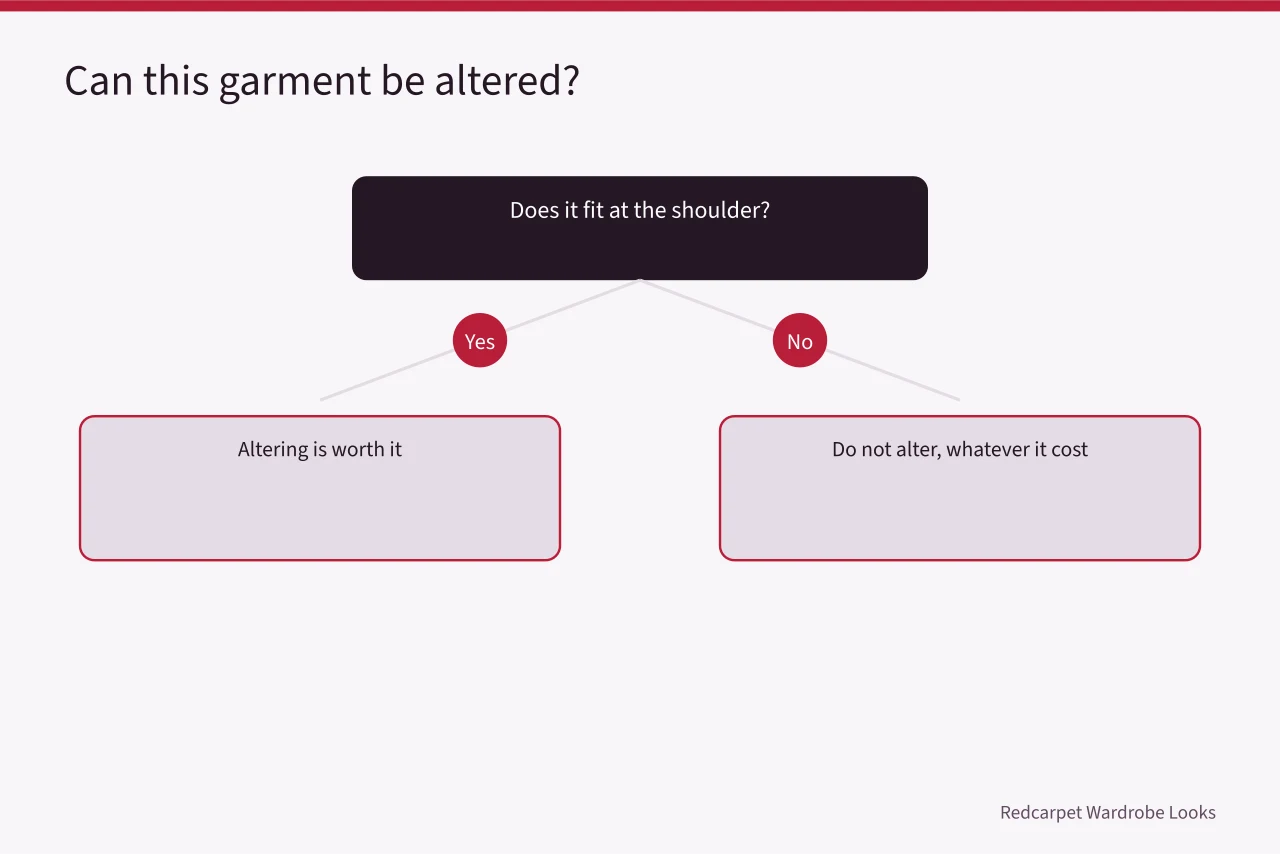
A garment that fits at the shoulder and through the body is worth altering. One that fits at the waist and not the shoulder is not. The first purchases for mending tools and supplies orders spending by how long each item lasts.
Read the condition claim before you agree to repair
Condition words vary by seller, and a grade is not a fault list.
Read the condition claim
| Term | What it usually means | What to ask |
|---|---|---|
| Excellent, or as new | No visible faults | Photos of underarms, hem, seat |
| Very good | Light wear only | Is the lining intact |
| Good | Visible wear, maybe a repair | What was repaired |
| Fair, or as-is | Faults not itemized | A full list, or walk away |
| Study piece | Should not be worn | Can it be displayed |
Ask for images of the wear points every time: both underarms, the hem edge, the seat, and the lining.
A vague answer means the job is a rebuild, not a repair. The mistakes that turn a home workroom into a problem lists the ones that cost the most time.
Which alterations hold and which fail
Which alterations hold
- Check the seam allowances first. Letting out a seam works only if the original crease line will not show, and on older cloth it usually will.
- Take in at the side seams and center back. This works once, and older garments often carry generous allowances.
- Shorten freely, lengthen rarely. The original hem line has faded or set, so the old turn shows.
- Leave the shoulders alone. Moving a shoulder seam rebuilds the top of a garment, and the cost rarely pays.
- Refuse weakened fibers. Silk can shatter along fold lines, and stitching through it makes the split worse.
Invisible repairs are priced by area and by how hard the match is to make. The technique behind that pricing is described under invisible mending.
Test the cloth before you cut into it
Pinch a seam allowance between your fingers and pull gently. Cloth that gives or splits at that pressure will not survive being worn, let alone taken apart.
A garment that fails the pinch test is a hand repair or nothing. A machine needle drives through fibers that are already breaking.
Denim is the exception worth knowing. Hand reinforcement often outlasts a patch because it spreads strain across the fabric. That stitch pattern is set out under sashiko.
Blame the cloth before the needle. A beginner tool kit for a repair workroom covers what to buy for hand work.
Clean old cloth only after the fit is settled
Old cloth, old dyes and old trim respond differently to the same solvent. Dry cleaning is a solvent process, not a gentle one. Say the garment is old and ask whether they handle vintage.
Storage smell usually airs out within days. Old stains often do not, and an unidentified stain is a real risk in cleaning.
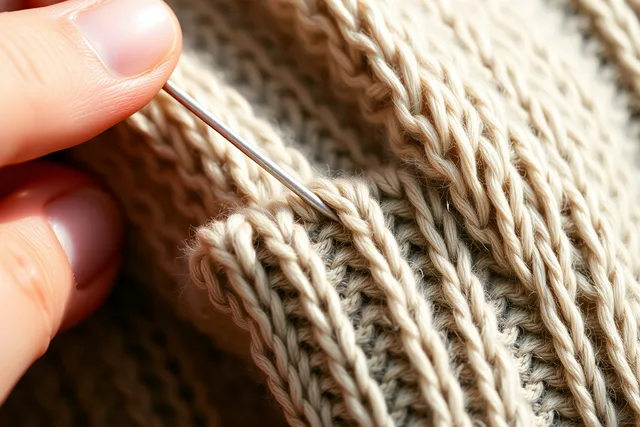
Knitwear needs another approach. A dropped stitch or a thin elbow can be rebuilt by hand, and the technique is explained under darning.
Example: a wool coat with a split lining
A 1960s wool coat arrives with a split at the armhole seam and a worn seat. The shoulder fits. That single fact decides the job.
The split is stitched by hand in matching thread, because a machine would perforate lining that is already thin. The seat gets a patch cut from the coat's own hem allowance.
Nothing is taken in at the shoulder. Doing so means resetting the collar, and that cost would exceed the coat's value. Choosing repair materials in bulk covers buying for jobs like this.