Features
Part of Planning a clothing repair before the scissors come out: four checks
Five short clothing repair and garment care lessons, from seams to repair judgment
Five mending lessons in order: a straight seam, a dust cover, replacing a button, a hand patch on woven fabric, and judging a garment before repair.
Learning to mend by mending whatever breaks means learning five skills badly at once. A better order is to pick projects that isolate one skill each, on material you do not mind ruining. These five build on each other and none of them takes a full day.
What to take away
- Isolate one skill per project. A project that needs three new skills teaches none of them.
- Start with straight seams on flat fabric before curved seams on a garment.
- Repeat each project once. The second attempt is where the correction happens.
- Finish every project, including pressing. Unfinished work teaches the wrong lesson about what done looks like.
One: a straight seam, on scrap
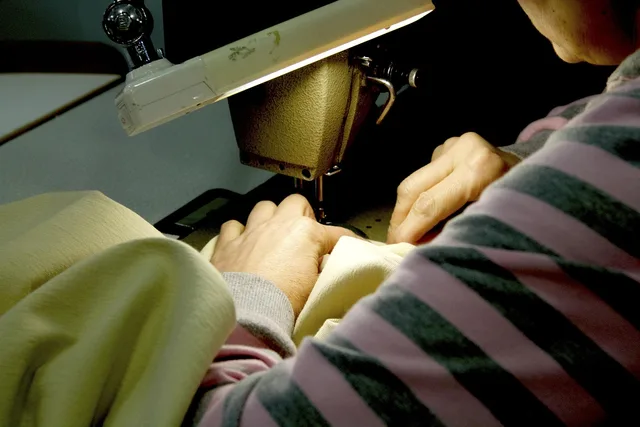
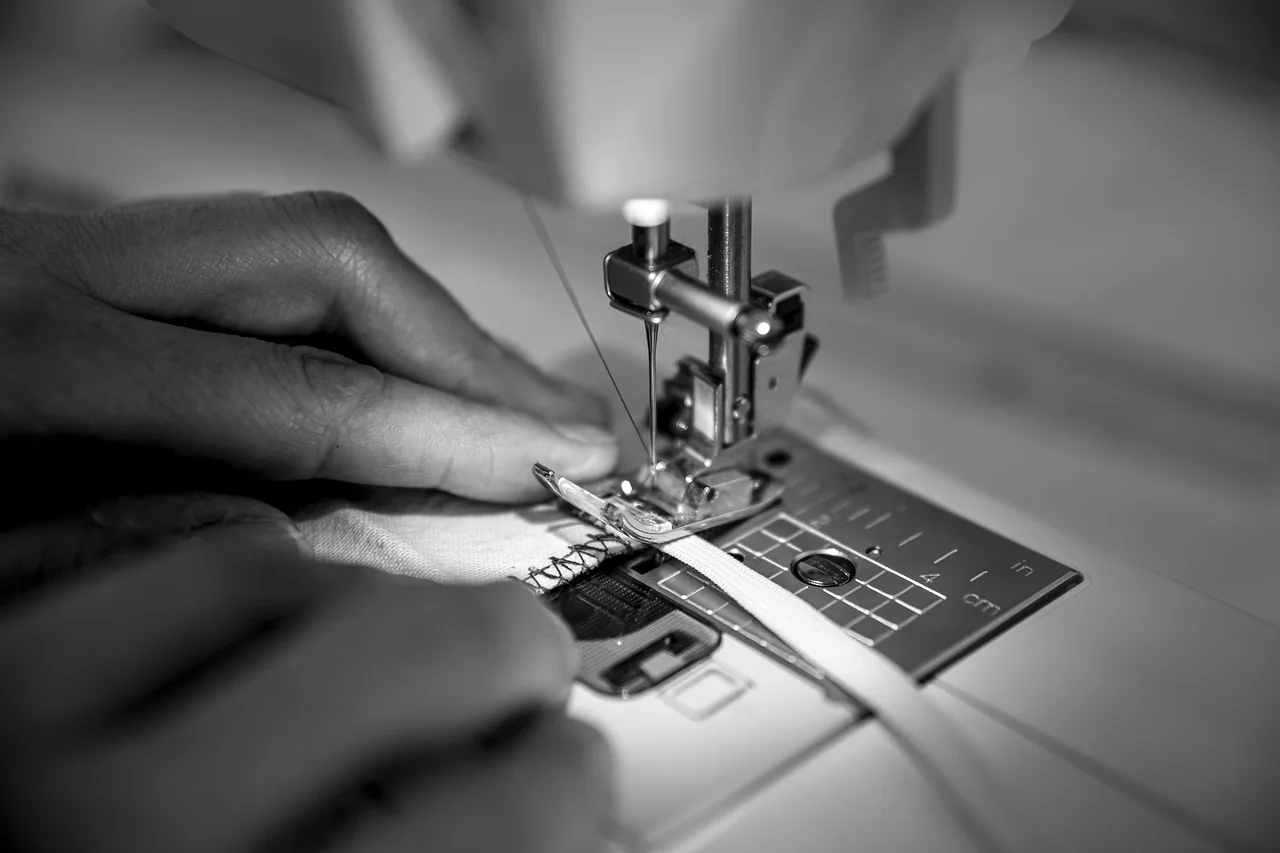
Cut two rectangles from an old sheet and sew them together along one long edge. The skill is a consistent seam allowance, not speed. Do it by hand with a backstitch and again on a machine if you have one.
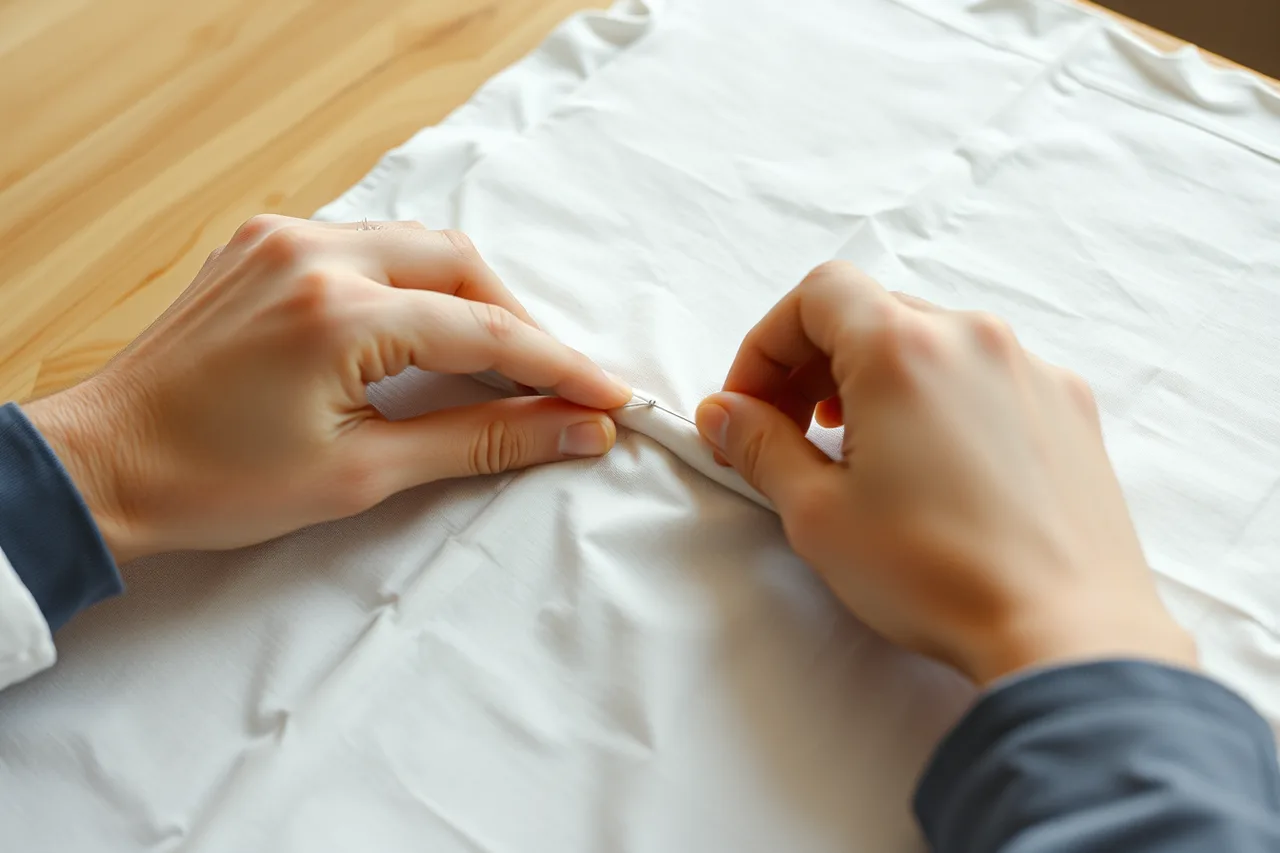
What you are learning: how far from the edge to stitch, and what an even stitch length looks like.
Two: a dust cover, which is four straight seams
A garment dust cover is a bag with two side seams, a shoulder seam and a hem, and it produces something useful. The National Park Service leaflet on storage techniques for hanging garments gives the pattern and the method.
Cut the pattern large enough for the garment plus one to two inches of air space, and allow a 5/8 inch seam. Machine sew the sides and shoulders, leaving a one inch opening at the top for the hanger hook. Press the seams open, finish or trim with pinking shears, then turn it out and hem the bottom.
That leaflet is written for museum costume storage, and the reasons it gives apply to a home closet too: dust covers keep dust and light off, stop hands transferring oils, and stop fugitive dyes moving from one garment to another.
Three: replacing a button, properly
Buttons look trivial and are not. The skill is the shank, the small stem of thread between button and fabric that lets the buttonhole close without straining. Sew the button over a toothpick laid across it, remove the toothpick, wind the slack thread into a shank, then secure it.
Do four buttons on a shirt you no longer wear. By the fourth, the shank will be even.
Four: a patch on a woven, by hand
Take a shirt destined for the rag pile, cut a two inch hole in it, and patch it. Behind the fabric first, then on top of a second hole, so you feel the difference. Stitch half an inch out into sound cloth on all sides.
Five: judging a garment before you repair it
The least visible skill is deciding what deserves work. The extension guidance on quality and selection is written for buying, not repairing, but its questions transfer.
Ask: Was the item worn out, out of fashion, or never worn? If worn out, why did you wear it so much? On a repair pile, these questions separate clothes you will keep wearing from clothes you repair out of guilt.
Once these five are comfortable, the planning routine is worth applying to real garments, and the tool kit article explains which purchases actually get used.