Guides
Visible mending: what a beginner should know before the first repair
What visible mending asks of a beginner: reading the care label first, judging whether a garment is worth the hours, and planning a patch that holds.
Visible mending means repairing a garment without hiding the repair. The stitching stays on the surface, in thread you chose to be seen. That is a design decision sitting on a structural one, and the structural part is where beginners get into trouble.
What to take away
- The care label tells you what the fabric survives. Read it before choosing thread.
- Most first repairs fail at the edges of the hole, not in the middle. Stitching has to reach past the thin ring of worn fabric into sound cloth.
- Match the patch to the garment in fiber and weight. A stiff cotton patch on a soft knit tears the knit at the boundary.
- Budget two hours for a knee patch you expect to take twenty minutes.
What the repair is actually doing
A visible mend bridges a gap and spreads load into cloth that can still carry it. Darning does that with a woven grid of thread laid in the hole. A patch does it with a second layer anchored outside the damage.
Match the repair to the hole
Small round wear hole in a knit?
Darn with a woven grid
Split along a seam?
Which one you pick depends on the hole. A small round wear hole in a knit takes a darn. A split along a seam takes a seam repair, not a patch. A worn palm-sized area at the knee or elbow takes a patch stitched at least half an inch into intact fabric on every side.
Stitches, tools, and materials
For a small knit hole with loops remaining around the damage, Swiss darning, also called duplicate stitch, follows the knit loops; an open hole can be filled with a woven darn. For a seam split, sew through the seam allowance with backstitch. For a patch on woven cloth, running stitch secures the patch, while blanket stitch is another visible option for finishing its edge.
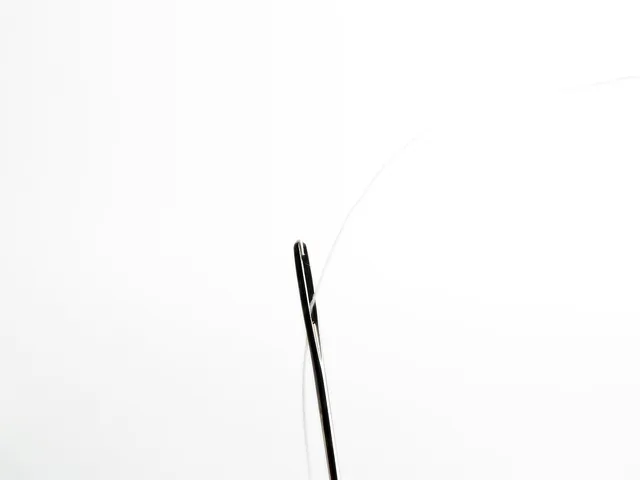
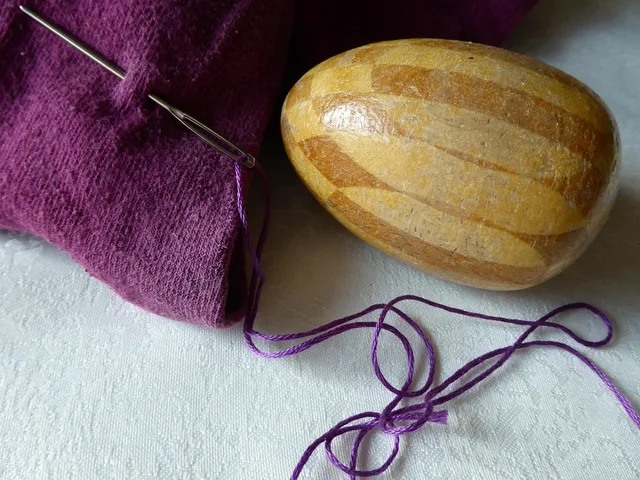
A basic setup is a sharp embroidery or crewel needle for woven cloth, a blunt tapestry needle for following knit loops, and a darning needle for darning. A darning mushroom or egg supports a knit while you work; work flat rather than putting knits in an embroidery hoop. A thimble helps with dense cloth, and beeswax can condition thread if it keeps tangling.
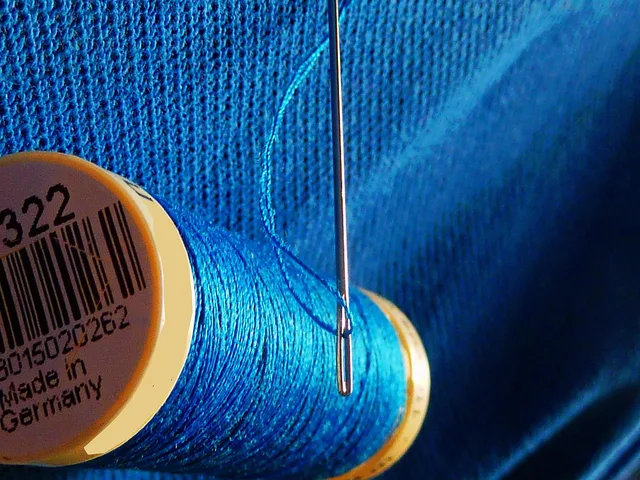
Match the thread and patch to the garment’s fiber and weight: cotton sewing thread for cotton, polyester thread for polyester or many blends, and wool darning yarn for wool knits. Embroidery floss can make a visible decorative mend if it is not too heavy for the cloth. Denim suits denim, jersey knit suits a jersey garment, and similar-weight twill is a useful woven-pants patch. Choose a needle that passes the thread without forcing it; if it leaves conspicuous holes or distorts the cloth, use a finer needle and thread.
Read the label before you pick a thread
Most clothing sold in the United States carries a permanent care label. The FTC guidance on complying with the Care Labeling Rule sets out what those labels must say. A label has to give either a washing or a drycleaning instruction, and it has to warn against procedures a buyer might reasonably assume are safe.
What the care label tells you
- Washing or drycleaning instruction required
- Warnings against assumed-safe procedures
- Do not iron applies to your repair
- Dryclean onlycotton patch may shrink
- Fiber content drives thread choice
If a garment says "Do not iron," that applies to your repair too. If it says dryclean only, a cotton patch that shrinks in solvent will pucker the panel. The label also gives fiber content, which drives thread choice more than color does.
Decide whether the garment is worth the hours
Not every damaged item earns a repair. Ask whether it still fits, whether the rest of the fabric is sound, and whether you will wear it once mended. If any answer is no, keep it as patch stock.
EPA material-specific data on textiles puts textile generation at 17 million tons in 2018, about 5.8 percent of municipal solid waste, with 11.3 million tons landfilled and a recycling rate of 14.7 percent. Repair keeps a garment out of that flow only if the repaired garment gets worn.
A first repair, in order
| Step | Action | Common error |
|---|---|---|
| 1 | Wash and dry the garment | Mending over soil, which abrades thread |
| 2 | Cut a patch with margin | Sizing the patch to the hole |
| 3 | Baste the patch flat | Skipping the baste and fighting shift |
| 4 | Stitch into intact cloth | Stopping at the damage |
Where beginners lose time
The two costly mistakes are working on stretched fabric and working in bad light. A knit pinned over a hoop stretches, and when you release it the stitches gather and the patch cups. Work knits flat. Tension is judged by eye, and you cannot see it on dark fabric under a fixture behind you.
Keep the basic setup simple for a first repair, and add tools only when a particular material or technique calls for them. The tool comparison by type can help with later choices, and a weekend practice plan offers a way to build skill before repairing the next garment.
Common questions
Does visible mending weaken the garment?
Should the thread match the fabric color?
Can I use iron-on patches instead of stitching?
How do I know a hole is too big to mend?
In this guide
- Why should a visible mending class actually explain before you pay for it?What a mending class should cover, what to ask before booking, and why this page describes how to judge a class instead of ranking named studios.
- Photographing a visible mend: light placement, white balance and three framesWhere to put the light, which camera settings matter, how to keep white balance honest, and how to shoot and present a visible repair in three frames.
- Needles, hoops and thread for visible mending, compared by type not brandNeedles, hoops, darning mushrooms and thread compared by what each type actually does well, plus a note on why no brands are ranked or tested here.
- A weekend practice plan for learning hand mending on scrap clothTwo days of hand mending practice on scrap cloth before you touch a garment you care about, with a stretch test, four exercises, washing and one real repair.
- Keeping thread and patch fabric usable in a small mending kitKeeping mending materials usable: humidity limits that invite mold, why patch fabric should be washed before storage, and how to organize a small kit.