Guides
Part of Why do the same visible mending mistakes keep repeating?
4 parts of visible mending mistakes, explained
Four common visible mending mistakes, why each one happens, and the simple check that catches every weak spot before the mend fails in the wash.
Four parts of visible mending mistakes cause most mends to fail early, and none of them is about stitching skill. Each is a decision made before the needle goes in, and each leaves a signature you can read in the cloth later: grain mismatch, thread too heavy, a darn pulled tight, and moth damage treated as a single hole.
What to take away
Visible mending mistakes
- Grain mismatcha patch cut with its grain running the same way as the garment's grain lies flat. Cross the two and the patch fights the cloth in the wash.
- Thread too heavythread heavier than the cloth cuts it. A mend should fail after the garment does, not before.
- Darning under tensiona hole stretched in a hoop and darned tight puckers as the cloth relaxes.
- Moth damage is a colony, not a holemend one visible spot and the next appears beside it.
- Tools that make the checks quicka Clover water-soluble chalk pen (typically about $8), a 4-inch spring embroidery hoop (typically about $9), and a five-pack of Schmetz needles (typically about $6).
Mistake 1: a patch cut across the grain
Woven cloth has two directions, warp and weft, and it moves differently along each. A patch cut on the cross grain and sewn onto a thigh panel cut on the straight grain will pull in the wash. The two pieces shrink at different rates, typically 2 to 4 percent for cotton on a hot wash.
The check is a chalk line. Draw the grain direction on the garment, draw it on the patch, and lay one over the other. If the lines cross, the patch is wrong. A Clover water-soluble chalk pen or a Prym chalk wheel marks both, typically about $8, and leaves no permanent line on denim or wool.
Mistake 2: thread heavier than the cloth
A denim patch sewn with heavy topstitching thread into a lightweight cotton shirt will tear the shirt before the thread breaks. The stitch line becomes a perforation, and the cloth parts along it.
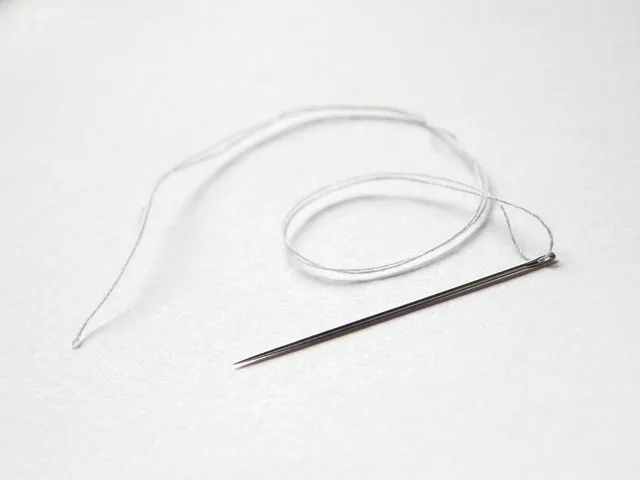
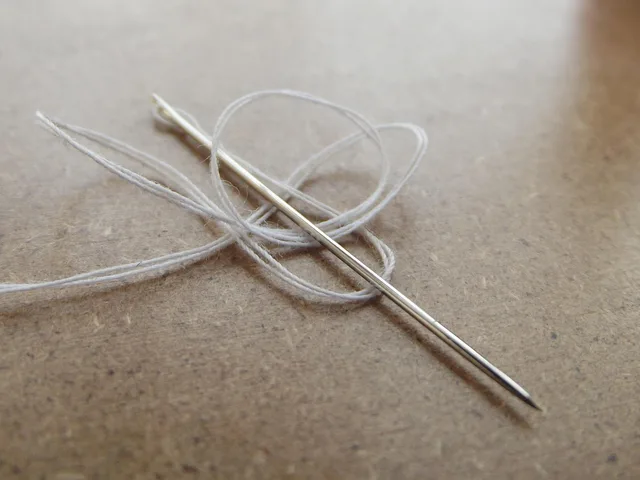
Match the thread to the cloth, not to the patch. On a knee or a thigh, a size 16 denim needle and a 40-weight polyester thread hold. Gütermann Mara 70 polyester, about $6 for a 100-meter spool, is a common denim choice.
Coats & Clark Dual Duty XP runs about $4 for 400 yards and suits midweight cotton. On a linen shirt, drop to a 70/10 needle and a 50-weight cotton such as Aurifil, typically $12 to $16 for a 1,422-yard cone.
The failure signature is a clean split along the stitch line with the thread intact.
Mistake 3: darning a hole under tension
A hole stretched flat in a hoop and darned tight will pucker when the hoop comes off. The weave was held open while you worked, and it springs back smaller than the darn.
Work the darn slightly slack, so the woven area sits just proud of the cloth. A spring hoop such as Clover's 4-inch, typically about $9, distorts the weave less than a screw hoop. The failure signature is a ring of puckers around the mend, worst at the corners.
Mistake 4: treating moth damage as one hole
Webbing clothes moth larvae, Tineola bisselliella, feed in a line or a cluster, and the fibers between the visible holes are already weakened. Darn the one hole you can see and the next one opens within weeks.
Hold the garment against a lamp. Thin areas show as brighter patches before they become holes. Mark every one with a pin or chalk, then decide whether the piece is worth mending or better used for patch material.
Pheromone traps for clothes moths, typically about $10 for a two-pack, catch adult males and show whether the infestation is still active. Freezing a woolen at 0 F for 72 hours is common practice in museum conservation.
Worked example: reading a failed knee mend
A customer brings back a jean with a darned knee that split after two months. The thread is unbroken. The split runs along the stitch line, not across the darn.
That points to needle and thread weight, not to the darn itself. The repairer used a 40-weight thread and a size 16 needle on a light stretch denim. The fix is a lighter needle, a finer thread, and a patch behind the worn area rather than a darn over it.
The failure patterns collected from earlier projects show the same signature repeating across garments. Photograph the mend before you unpick it, using the photography method for a mend, so the next diagnosis starts from evidence rather than memory.
Reference: archives.gov guidance.
Reference: nps.gov guidance.
Common questions
Does a patch always need to match the grain?
Yes for woven cloth, because the two pieces have to move together. Knits are more forgiving, since they stretch in every direction, but a patch cut from a woven scrap onto a knit will still pull.
How do I know the thread is too heavy?
Lay a strand beside a pulled thread from the garment's own seam. If yours is visibly thicker, it is too heavy for that cloth. The garment's own thread is the reference.
Can a puckered darn be fixed?
Sometimes. Damp the area, pin it flat, and let it dry under tension. If the needle cut the weave, the pucker will not come out and the area needs a patch instead.
When is a garment past mending?
When the cloth around the hole is thin enough that a new mend would tear it. At that point the piece is better cut for patch material than repaired.